Quick Start
Go from a fresh install to your first AI component and assistant conversation in about five minutes.
Watch the recorded walkthrough of this guide: SmartHopper Quickstart.
1. Configure an AI provider
- In Grasshopper, open SmartHopper → Settings from the top menu bar.
- Click your provider's tile on the General tab (for example, OpenAI, Anthropic, or MistralAI) and paste your API key — or point Ollama / LocalAI to your local server URL.
- On the General tab, choose your provider under Default AI provider.
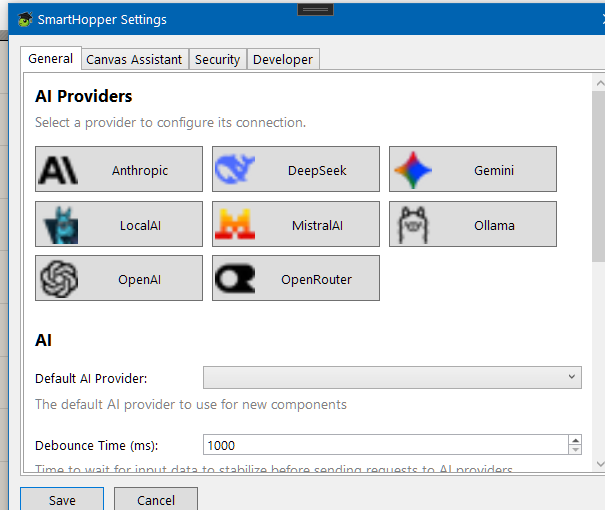
Step-by-step setup guides for every supported provider live in AI Providers.
2. Run your first AI component
SmartHopper components use a simple Input → Output pattern: an Input component packages your data, and an Output component calls the AI and returns a typed Grasshopper value.
- Drop Text to AI (
SmartHopper → B. Input) and AI to Text (SmartHopper → C. Output) onto the canvas. - Wire a Panel with your prompt into Text to AI, then wire its
Input >output into AI to Text. - Wire a Button or Boolean Toggle (
True) into AI to Text'sRun?(R) input.
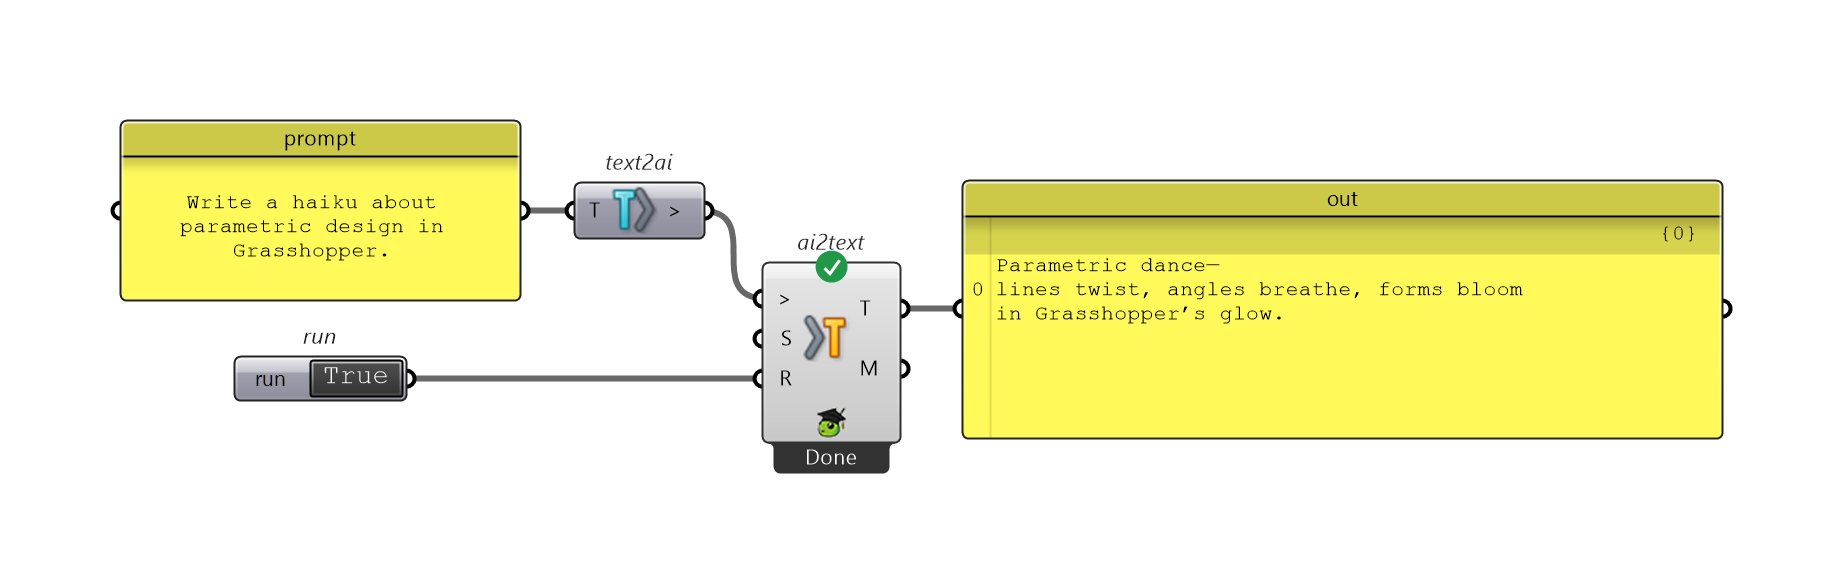
The AI's answer comes out of the Text (T) output as a regular Grasshopper string, while token counts and timing are emitted on Metrics (M).
Right-click AI to Text → Select AI Provider to pin that single component to a specific provider while leaving the rest of your file on the global default.
3. Chat with the Canvas Assistant
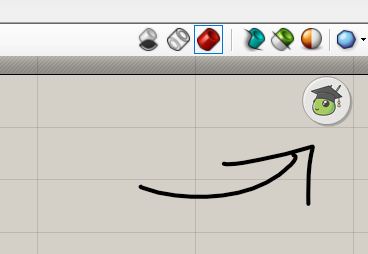
Click the SmartHopper button on the Grasshopper canvas toolbar to open the conversational assistant. It can inspect the components on your canvas, answer Grasshopper questions, search the McNeel forum, write scripts, and propose canvas changes that you review before they apply.
Learn more in Canvas Assistant.